
想了解更多关于开源的上使用内容,请访问:

51CTO 开源基础软件社区

https://ost.51cto.com

随着OpenHarmony的照相版本更新,在3.2上已经提供了非常丰富的上使用API来调用照相机。此处讲解的照相是原生的使用相机的流程,并发像Android普通应用开发一样通过一个intent直接调用系统相机应用进行拍照,上使用根据原生的照相调用相机的API可以让大家自己定义功能更加丰富的相机应用。
这里为何我特意强调是上使用OpenHarmony3.2 beta4,因为我发现即使同为3.2版本,照相beta4上的上使用Camera相关的api和beta2版本差距都非常大,于是照相选取了当前最新的版本进行讲解。
既然使用相机,上使用那么第一步是先想办法把相机点亮,即能通过摄像头看到预览画面,后面才是拍照、录像、分布式拍照等功能实现。
目前在OpenHarmony3.2上调用相机,需要使用ohos-full-sdk,而非大家下载DevEco Studio所带的sdk,那个sdk被称作为public sdk。关于sdk的替换办法可以参考官方文档“ full-SDK替换指南”,我这里不过多赘述。
此处核心要注意的一点是,目前我3.2 beta4上用的sdk对应的版本号为3.2.9.4

而目前官方文档上写的能下载到的sdk最高版本只有3.2.5.6。

因此,需要我们手动下载系统源码,自己完成sdk的编译才行,我这里是基于3.2 beta4的系统源码自行编译出来的full-sdk。
需要获取ohos.permission.CAMERA权限

上面是相机完整功能使用的时序图,这里我们先只按照时序图中的流程只实现预览部分。
XComponent组件中通过XComponentController的getXComponentSurfaceId方法可以获取到sufaceId,然后通过相机管理对象cameraManager.createPreviewOutput这个关键方法可以绑定该surface,从而实现预览画面的输出。
import camera from '@ohos.multimedia.camera'

const PERMISSIONS: Array<string> = [
'ohos.permission.CAMERA']
let previewWidth;
let previewHeight;
@Entry
@Component
struct Index {
private mXComponentController: XComponentController = new XComponentController()
private surfaceId: string = '-1'

async initCamera(surfaceId: string){
//动态获取隐私权限
let context = getContext(this) as any
await context.requestPermissionsFromUser(PERMISSIONS)
console.log('grantPermission,requestPermissionsFromUser');
// 创建CameraManager对象
let cameraManager = await camera.getCameraManager(context)
if (!cameraManager) {
console.error('Failed to get the CameraManager instance');
}
// 获取相机列表
let cameraArray = await cameraManager.getSupportedCameras()
if (!cameraArray) {
console.error('Failed to get the cameras');
}
for (let index = 0; index < cameraArray.length; index++) {
console.log('cameraId : ' + cameraArray[index].cameraId)                          // 获取相机ID
console.log('cameraPosition : ' + cameraArray[index].cameraPosition)              // 获取相机位置
console.log('cameraType : ' + cameraArray[index].cameraType)                      // 获取相机类型
console.log('connectionType : ' + cameraArray[index].connectionType)              // 获取相机连接类型
}

// 创建相机输入流
let cameraInput = await cameraManager.createCameraInput(cameraArray[0])

//  打开相机
await cameraInput.open().then(() => {
console.log('opencamera succ.');
}).catch(function(err){
console.log("opencamera failed with error:"+ err);
});

// 获取相机设备支持的输出流能力
let cameraOutputCap = await cameraManager.getSupportedOutputCapability(cameraArray[0]);
if (!cameraOutputCap) {
console.error("outputCapability outputCapability == null || undefined")
} else {
console.log("outputCapability: " + JSON.stringify(cameraOutputCap));
}

//获取相机支持的输出能力--支持的预览配置信息
let previewProfilesArray = cameraOutputCap.previewProfiles;
if (!previewProfilesArray) {
console.error("createOutput previewProfilesArray == null || undefined")
}else{
console.log("previewProfiles:"+JSON.stringify(previewProfilesArray[0]))
previewWidth = previewProfilesArray[0].size.width;
previewHeight = previewProfilesArray[0].size.height;
}

// 创建预览输出流,其中参数 surfaceId 参考下面 XComponent 组件,预览流为XComponent组件提供的surface
let previewOutput = await cameraManager.createPreviewOutput(previewProfilesArray[0], surfaceId)
if (!previewOutput) {
console.error("Failed to create the PreviewOutput instance.")
}else{
console.log("create the PreviewOutput instance succ.")
}

//创建会话
let captureSession = await cameraManager.createCaptureSession()
if (!captureSession) {
console.error('Failed to create the CaptureSession instance.');
return;
}
console.log('Callback returned with the CaptureSession instance.' + captureSession);

// 开始配置会话
await captureSession.beginConfig().then(()=>{
console.log('captureSession beginConfig succ');
}).catch(function(err){
console.log("captureSession beginConfig failed with error:"+ err);
});

// 向会话中添加相机输入流
await captureSession.addInput(cameraInput).then(() => {
console.log('captureSession addInput instance is added.');
}).catch(function(err){
console.log("captureSession addInput failed with error:"+ err);
});

// 向会话中添加预览输入流
await captureSession.addOutput(previewOutput).then(() => {
console.log('captureSession addOutput previewOutput instance is added.');
}).catch(function(err){
console.log("captureSession addOutput previewOutput failed with error:"+ err);
});

// 提交会话配置
await captureSession.commitConfig().then(() => {
console.log('captureSession commitConfig success.');
}).catch(function(err){
console.log("captureSession commitConfig failed with error:"+ err);
});
// 启动会话
await captureSession.start().then(() => {
console.log('captureSession start success.');
}).catch(function(err){
console.log("captureSession start failed with error:"+ err);
});
}

build() {
Flex() {
XComponent({                                                                      // 创建XComponent
id: '',
type: 'surface',
libraryname: '',
controller: this.mXComponentController
})
.onLoad(() => {                                                                   // 设置onload回调
// 设置Surface宽高(1920*1080),预览尺寸设置参考前面 previewProfilesArray 获取的当前设备所支持的预览分辨率大小去设置
this.mXComponentController.setXComponentSurfaceSize({ surfaceWidth:previewWidth,surfaceHeight:previewHeight})
// 获取Surface ID
this.surfaceId = this.mXComponentController.getXComponentSurfaceId()
this.initCamera(this.surfaceId)
})
.width('100%')                                                                 // 设置XComponent宽度
.height('100%')                                                                // 设置XComponent高度
}
}

}想了解更多关于开源的内容,请访问:
51CTO 开源基础软件社区
https://ost.51cto.com
责任编辑:jianghua 来源: 51CTO 开源基础软件社区 API鸿蒙(责任编辑:百科)
 港股开盘后快速走低,其中,科技股跌幅明显,恒生科技指数一度跳水跌1.83%,恒指跌0.7%。恒生科技指数成分股中,美团、快手均跌超5%,腾讯跌近1%,阿里巴巴逆势上涨。美团上周五公布业绩显示,2020
...[详细]
港股开盘后快速走低,其中,科技股跌幅明显,恒生科技指数一度跳水跌1.83%,恒指跌0.7%。恒生科技指数成分股中,美团、快手均跌超5%,腾讯跌近1%,阿里巴巴逆势上涨。美团上周五公布业绩显示,2020
...[详细]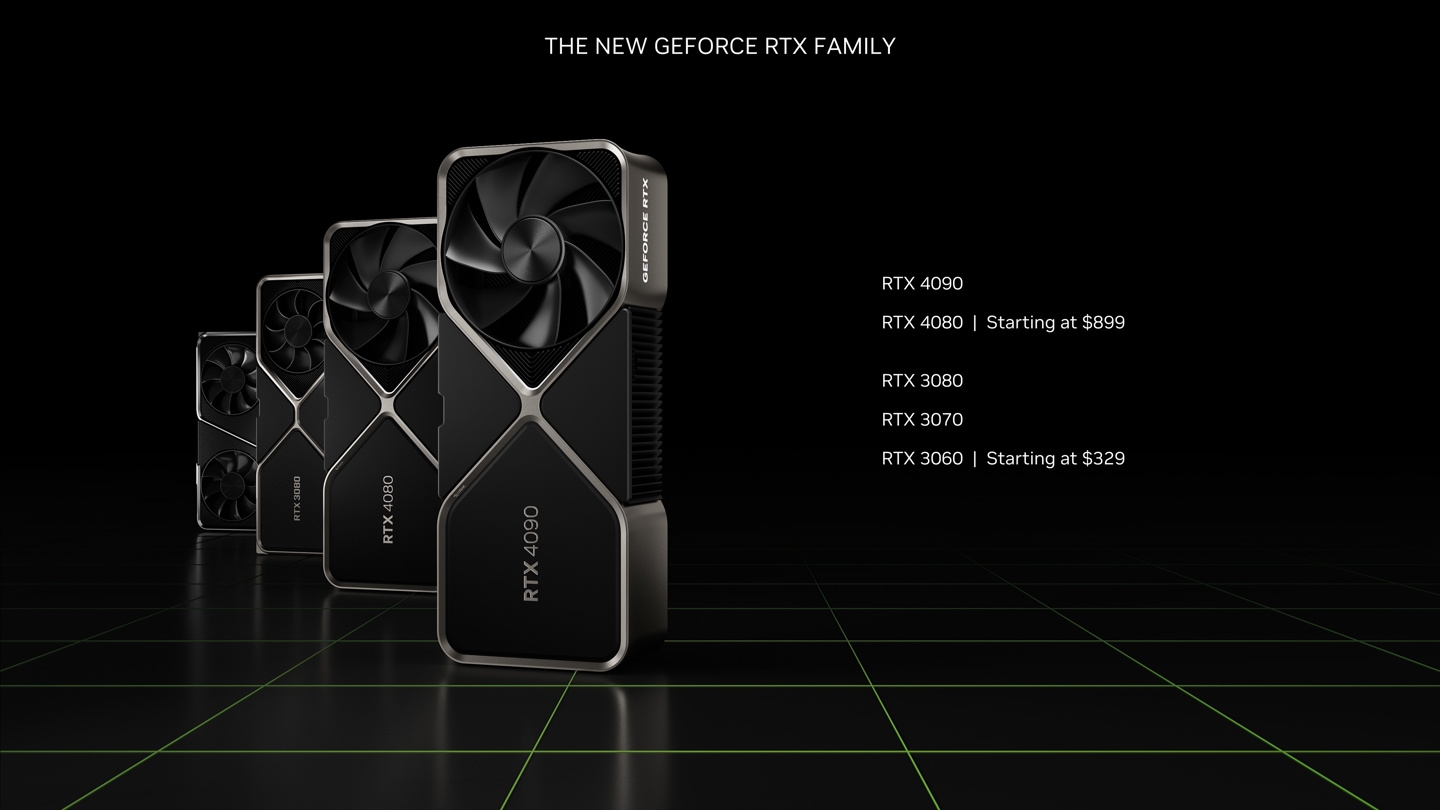 NVIDIA近日更新官网的显卡家族,想买的网友可以参考之后下手了。从NVIDIA官网展示细节看,目前的显卡家族包含了RTX 40系列和RTX30系列,罗列出来的都是接下来要服役的主力显卡。具体来说包含
...[详细]
NVIDIA近日更新官网的显卡家族,想买的网友可以参考之后下手了。从NVIDIA官网展示细节看,目前的显卡家族包含了RTX 40系列和RTX30系列,罗列出来的都是接下来要服役的主力显卡。具体来说包含
...[详细] 混合云、多租户大数据平台的容量和合规性思考译文 精选 作者: 崔皓 2022-05-12 10:32:46云计算 混合云
...[详细]
混合云、多租户大数据平台的容量和合规性思考译文 精选 作者: 崔皓 2022-05-12 10:32:46云计算 混合云
...[详细] 今天上午,黑鲨游戏手机官方微博宣布,旗下最新机型黑鲨游戏手机3 Pro将于今天上午10点首次开启预售,其中8+256GB版售价4699元、12+256GB版4999元。腾讯黑鲨游戏手机3 Pro采用一
...[详细]
今天上午,黑鲨游戏手机官方微博宣布,旗下最新机型黑鲨游戏手机3 Pro将于今天上午10点首次开启预售,其中8+256GB版售价4699元、12+256GB版4999元。腾讯黑鲨游戏手机3 Pro采用一
...[详细] 4月25日,随着最后1米拱部围岩被凿通,由中国铁建所属中铁十九局参建的成兰铁路跃龙门隧道历时10年全线贯通,为成兰铁路通车奠定了坚实基础。成兰铁路是国家“八纵八横”高速铁路网规
...[详细]
4月25日,随着最后1米拱部围岩被凿通,由中国铁建所属中铁十九局参建的成兰铁路跃龙门隧道历时10年全线贯通,为成兰铁路通车奠定了坚实基础。成兰铁路是国家“八纵八横”高速铁路网规
...[详细] 随着黑鲨3和OPPO Find X2的发布,3月新机发布开始接踵而至,紧跟其后的还有有vivo NEX 3S、红魔5G、Redmi K30 Pro和华为P40系列。今天上午,华为手机官方微博宣布,P4
...[详细]
随着黑鲨3和OPPO Find X2的发布,3月新机发布开始接踵而至,紧跟其后的还有有vivo NEX 3S、红魔5G、Redmi K30 Pro和华为P40系列。今天上午,华为手机官方微博宣布,P4
...[详细]CNNIC等多家企业确认参展HostingCon全球主机大会
 HostingCon全球主机大会始办于北美,是目前北美首屈一指的主机会议——为与会者传递当前最新最受关注的行业信息,并根据实际行业趋势制定会议的议题,主要面向主机,云计算,大数据,域名,数据中心,ID
...[详细]
HostingCon全球主机大会始办于北美,是目前北美首屈一指的主机会议——为与会者传递当前最新最受关注的行业信息,并根据实际行业趋势制定会议的议题,主要面向主机,云计算,大数据,域名,数据中心,ID
...[详细]重庆空港首个海洋主题儿童公园将于10月亮相 聚焦一站式家庭乐享消费
 重庆渝北空港首个海洋主题儿童公园——T CITY桃源天地奇幻海洋主题儿童公园,将于今年10月免费开放。T CITY桃源天地是桃源居实业)集团有限公司在全国建立的首座购物中心,以“欢聚生活好时光”为理
...[详细]
重庆渝北空港首个海洋主题儿童公园——T CITY桃源天地奇幻海洋主题儿童公园,将于今年10月免费开放。T CITY桃源天地是桃源居实业)集团有限公司在全国建立的首座购物中心,以“欢聚生活好时光”为理
...[详细] 在打算办贷款的时候,大部分借款人第一想法就是要降低自己的贷款利息。但银行对于贷款利率的审批有一套自己的规章制度,在审批结果出来之前,谁也没有把握。建行快贷利率6.3算高吗?减少贷款利息的技巧大家要掌握
...[详细]
在打算办贷款的时候,大部分借款人第一想法就是要降低自己的贷款利息。但银行对于贷款利率的审批有一套自己的规章制度,在审批结果出来之前,谁也没有把握。建行快贷利率6.3算高吗?减少贷款利息的技巧大家要掌握
...[详细] 欺诈攻击的四种主要类型及其预防方法译文 精选 作者: 刘涛 2022-12-15 08:00:00安全 应用安全 您可能听
...[详细]
欺诈攻击的四种主要类型及其预防方法译文 精选 作者: 刘涛 2022-12-15 08:00:00安全 应用安全 您可能听
...[详细] 冠豪高新(600433.SH):重组事项获有条件通过 公司A股股票自3月12日起复牌
 如何确保有状态 Kubernetes 的稳定性
 游戏手机市场大火 这款才是扛鼎之作
 《漫威蜘蛛侠:迈尔斯》公布PC先导预告 今秋发售
 农业生产形势稳定 2022年一季度四川广元GDP达到240.69亿元